Stitches
The Magic Ring, and What to Do When It Slips
A magic ring is an adjustable loop you work your first round into, then pull closed, giving a centre with no hole at all. Wrap the yarn twice around two fingers rather than once — a double-wrapped ring holds far better than the single wrap most tutorials show. Work your first round into the loop, then pull the short tail to close it, and always weave that tail through the closed centre in two directions before trimming, or it will work loose.
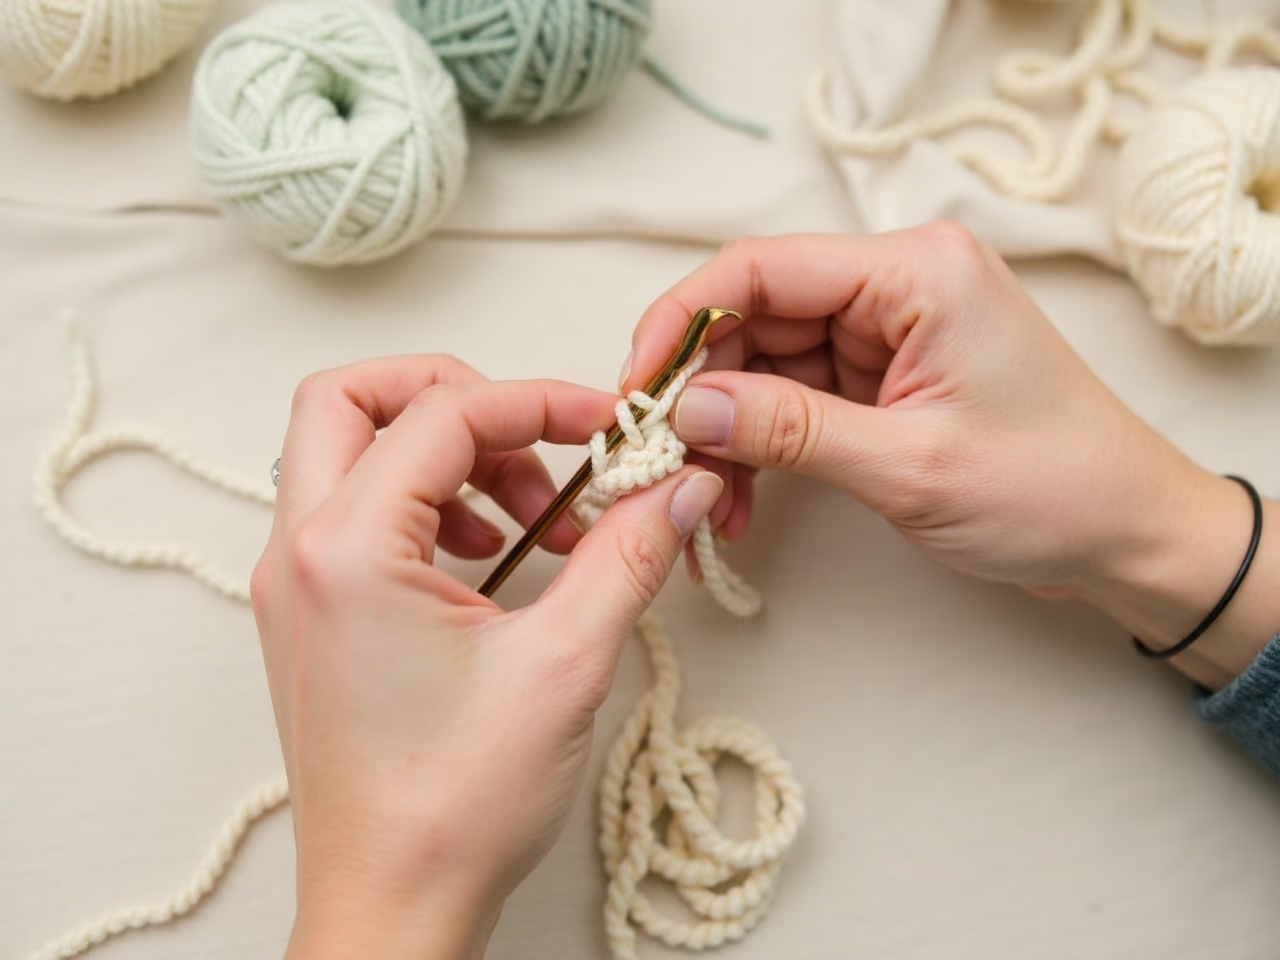
The magic ring is the standard way to begin anything worked in the round where you do not want a hole in the middle. It is not difficult, but nearly every tutorial teaches the fragile version of it, which is why so many people conclude they cannot do it.
Making it
- Drape the yarn over your palm with the tail hanging down, leaving at least 6 inches of tail.
- Wrap the working yarn twice around your first two fingers. Two wraps, not one — this is the change that makes it hold.
- Slide the loops off your fingers, pinching where they cross.
- Insert your hook under both loops, catch the working yarn and pull it through.
- Chain 1 to secure. This chain does not count as a stitch.
- Work your first round’s stitches over both strands of the ring.
- When the round is complete, pull the short tail firmly. The centre closes to nothing.
- Join the round as your pattern directs.
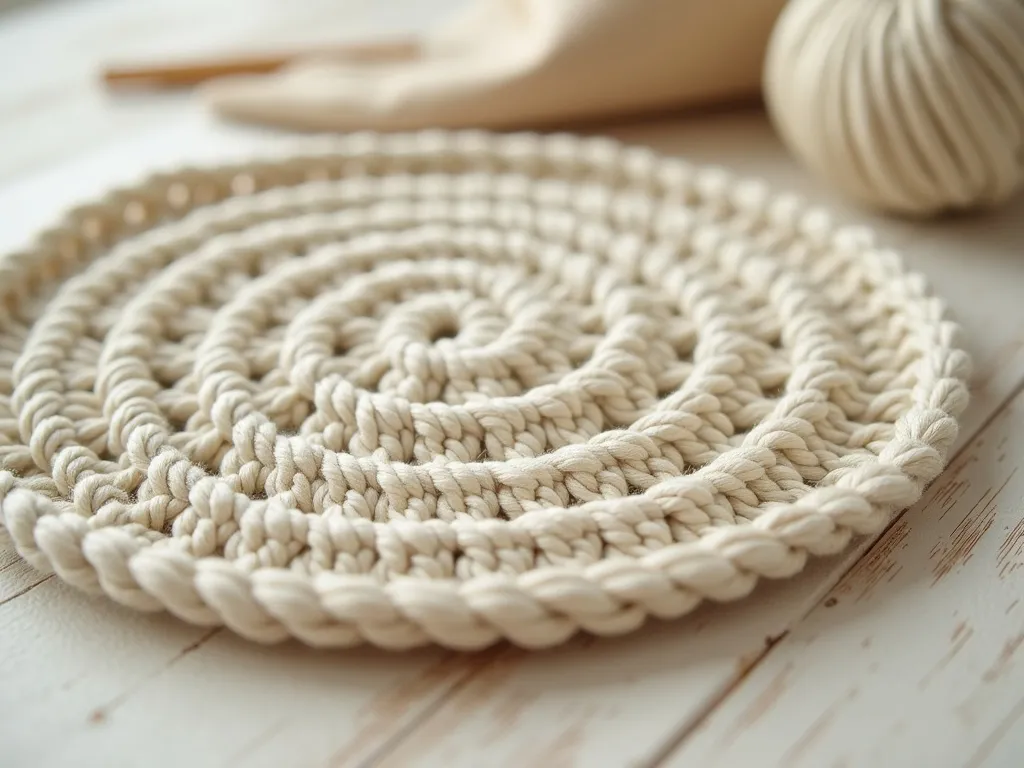
Why the double wrap
The single-wrap version — which is what most video tutorials show — closes around one strand of yarn. There is nothing holding that strand except friction against the stitches you worked over it. Under any tension, and especially after washing, it slides.
Two wraps means your stitches sit over two strands, and you tighten one of them. The remaining strand stays inside the closed ring as a physical stopper. It takes no extra time and it roughly doubles how much abuse the centre will take.
Securing the tail properly
Closing the ring does not lock it. This is the step people skip, and it is the reason amigurumi heads develop a hole three months later.
After closing:
- Thread the tail onto a yarn needle.
- Pass it through the back of three or four stitches in one direction.
- Turn and pass it back through two or three stitches in a different direction, so the yarn changes angle at least once.
- Give a gentle tug and trim close, but not flush — leave a few millimetres.
The change of direction is what matters. A tail woven in a straight line will pull out; one that turns a corner cannot, because it would have to travel backwards through the stitch to escape.
When not to use one
A magic ring is the right start for amigurumi, hat crowns, circular motifs and anything where a visible centre hole would be a fault.
It is the wrong choice for openwork: a lace doily or a granny square in an airy pattern often wants the small central opening a chain-4-join-with-slip-stitch gives, and forcing a magic ring there closes up a hole the design depends on.
It is also worth skipping on very fine thread with a steel hook, where the two-strand ring becomes bulky relative to the stitch size and shows as a lump at the centre.
If your ring will not tighten
Two usual causes. Either the stitches were worked over only one strand of the ring rather than both — in which case pulling the tail does nothing, because the tail is not connected to what you are trying to close — or you are pulling the wrong end. Only the short tail closes a magic ring; pulling the working yarn just makes the last stitch tighter.
Check by looking at the base of your stitches: you should see two parallel strands running through them.
Common questions
Why does my magic ring keep coming undone?
Almost always the tail was not secured after closing. Pulling the ring tight only closes it; nothing locks it. The fix is to weave the tail through the closed centre stitches in two different directions before trimming, and to leave at least 6 inches of tail to work with. The second cause is slippery yarn — cotton, bamboo and silk blends hold a magic ring much less well than wool, and for those the double-wrap version below is worth using every time.
What is the difference between a magic ring and chain 2?
Chaining 2 and working into the second chain leaves a small permanent hole at the centre, because the chains cannot be tightened. A magic ring closes completely. For amigurumi the difference matters enormously — stuffing shows through a chain-2 centre — while for a hat crown or a granny square the small hole is often invisible or even wanted.
Can I use a magic ring with any yarn?
Yes, but grip varies a lot. Wool and acrylic have enough surface texture that a single-wrapped ring usually holds. Mercerised cotton, bamboo, silk and anything with a slick finish will slip, and those are the cases where the double wrap and careful tail weaving stop being optional. With very slippery yarn, some makers close the ring and then knot the tail once against the back of the work before weaving it in.
How many stitches go into a magic ring?
Whatever the pattern says — commonly 6 single crochet for amigurumi, or 12 double crochet for a granny-style circle. The physical limit is how many stitches will fit before you close it, which for worsted weight on a 5.0 mm hook is roughly 12–14 single crochet. If you need more than that, work them into the first round afterwards rather than crowding the ring itself.
Is a magic ring the same as a magic circle or magic loop?
Yes — magic ring, magic circle and magic loop all describe the same technique in crochet, and patterns use the terms interchangeably. Be aware that in knitting, "magic loop" means something completely different: a method of working small circumferences on one long circular needle. If a pattern mixes crochet and knitting sections, check which is meant.