Looking for a charming, screen-free activity to unwind this weekend? Creating a diy yarn doll is a perfect, nostalgic craft that yields a delightful handmade friend. This simple project requires minimal supplies and offers a wonderful sense of accomplishment. It’s an ideal way to spend a quiet afternoon, blending creativity with the tactile joy of working with yarn.
Why You Should Try This Craft
This craft is wonderfully accessible for all skill levels, from complete beginners to seasoned makers. The process is meditative and allows you to work with your hands, providing a break from digital distractions. You can personalize your creation endlessly with different colors, textures, and accessories. It’s a fantastic project to do solo or as a fun activity with family or friends.
Essential Supplies for Your DIY Yarn Doll
You likely have most of the necessary items already at home. The core materials are just yarn, cardboard, and scissors. For the yarn, a medium-weight acrylic or wool blend works perfectly and comes in a vast array of colors. You will also need a piece of sturdy cardboard, roughly the size of a hardcover book, to act as your winding tool.
Optional supplies include small beads for eyes, embroidery floss for facial features, and ribbons or fabric scraps for clothing. Having these extras on hand lets you add character and charm to your finished doll. The beauty of this diy yarn doll project is its flexibility and low barrier to entry.
A Step-by-Step Guide to Making a Yarn Doll
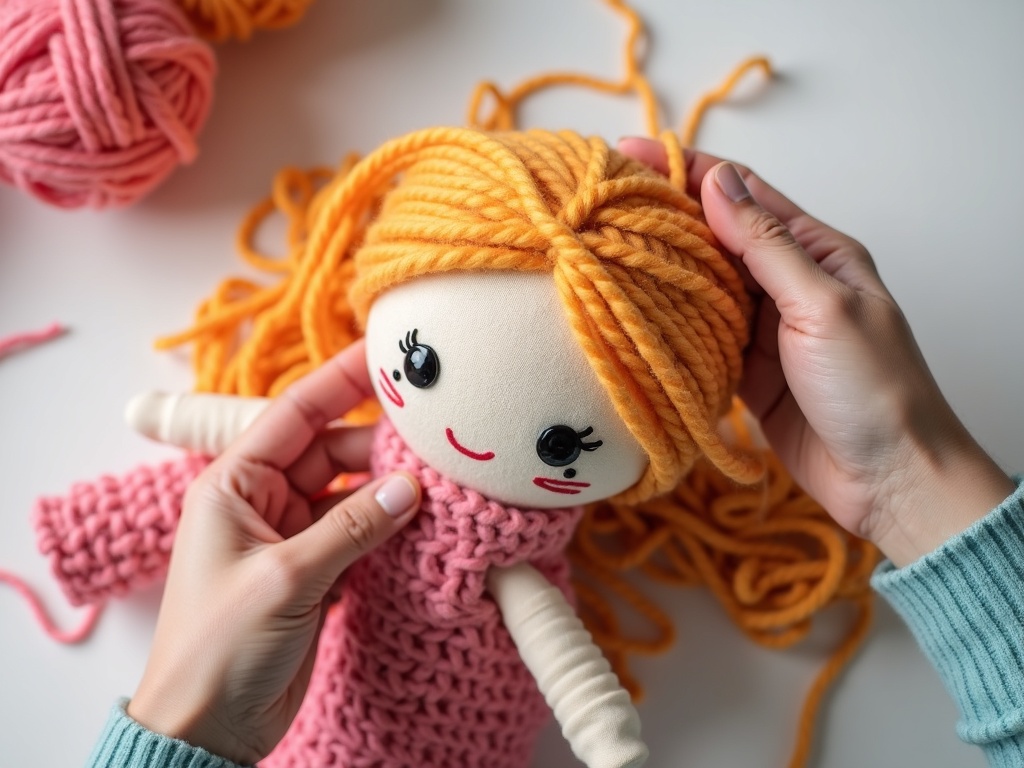
The method is straightforward and based on traditional techniques. First, wind your yarn lengthwise around the cardboard approximately 80-100 times, depending on how full you want the doll. Carefully slide the wound yarn off the cardboard and tie a tight piece of yarn around the top third to form the head. This creates the basic shape and is the most satisfying part of the process.
Next, separate a small bundle of yarn from each side to create arms. Tie yarn tightly around the ‘wrists’ to define the hands. For the body, you will tie another piece of yarn just below the arms to create a waist. This step-by-step approach to your diy yarn doll is easy to follow and highly rewarding as the figure takes shape.
Adding Personality and Finishing Touches
This is where your diy yarn doll truly comes to life. You can trim the bottom loops to create a skirt or leave them for a full-bodied look. Embroider a simple smile or sew on bead eyes to give your doll a friendly face. Consider adding a tiny scarf, a felt hat, or even miniature yarn braids for extra flair.
For more inspiration on traditional doll-making techniques and history, you can explore resources like the Wikipedia entry for Rag doll. Let your imagination guide you, as each doll will have its own unique character. This personalization makes the craft so special and giftable.
Incorporating Crafts into Your Weekend Routine
Engaging in hands-on projects like this is a wonderful way to practice mindful leisure. It helps in creating a balanced weekend that mixes productivity with relaxation. For more ideas on crafting a fulfilling weekend, check out our guide on creating a perfect weekend routine. Setting aside time for such activities can significantly enhance your overall sense of well-being and creativity.
Crafting a diy yarn doll connects you to a long tradition of handmade toys. It’s a tangible reminder of the joy found in making something from scratch. This project proves that you don’t need complex kits or expensive materials to create something beautiful. It’s a testament to the power of simple, creative play.
Wrapping Up
Gather your yarn and scissors, and dedicate an hour to this peaceful project. You will be amazed at the cute companion you can create with just a few simple steps. This diy yarn doll is more than a craft; it’s a pocket of calm and a handmade treasure. So, this weekend, put down your phone, pick up some yarn, and enjoy the simple pleasure of making.
Explore a guide on our sister blog
Related reading: Explore more on this topic