Looking for a simple, stylish project to elevate your weekend wardrobe? A crochet shrug is the perfect beginner-friendly wearable that offers both comfort and a touch of handmade charm. This versatile piece is quicker to make than a full sweater but just as rewarding. It’s an ideal project for a relaxing afternoon, blending creativity with practical self-care.
Why a Crochet Shrug is the Perfect First Wearable
Many new crocheters feel intimidated by the idea of making clothing. A full garment can seem like a huge commitment of time and skill. A crochet shrug, however, is often worked in simple rectangles or minimal shaping. This makes it a fantastic confidence-building project.
You’ll learn essential garment-making techniques without the complexity of fitting sleeves or a detailed neckline.
This project aligns beautifully with a balanced weekend routine. You can work on it while enjoying your morning coffee or winding down in the evening. The repetitive stitches are meditative and perfect for a mindful break from screens. Completing a wearable item provides a tremendous sense of accomplishment and a tangible result for your efforts.
Essential Supplies for Your Project
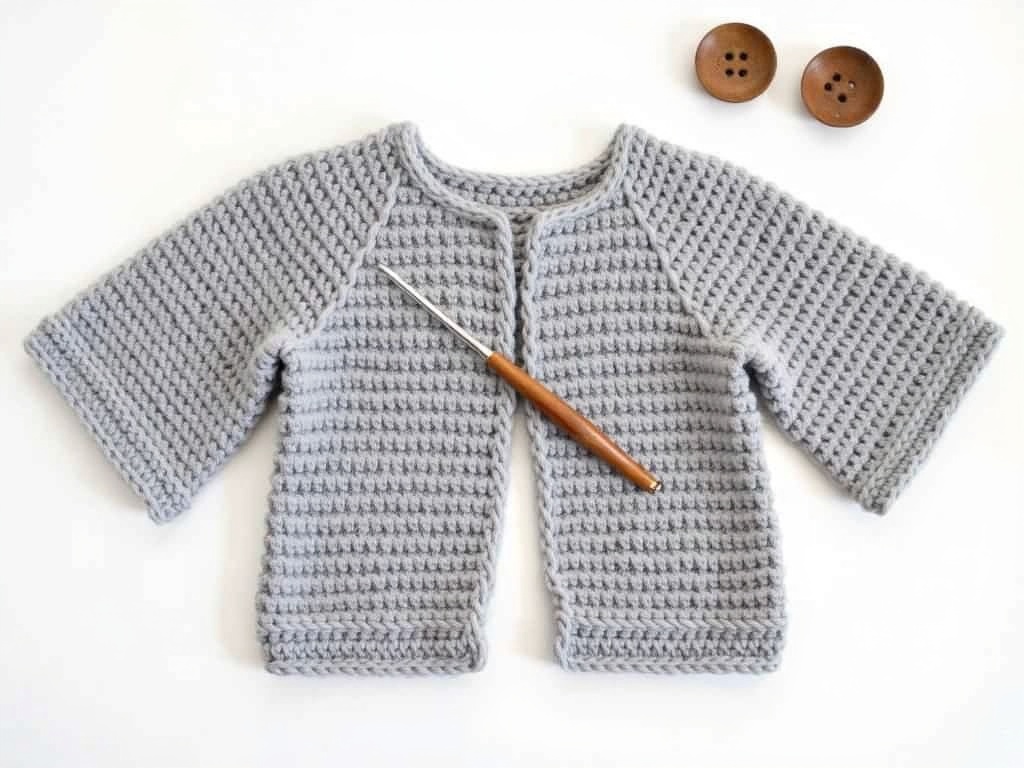
You don’t need a vast array of tools to get started. A medium-weight yarn, often labeled as worsted or aran, is excellent for a first crochet shrug. Choose a color that complements your existing loungewear or weekend outfits. You will also need a crochet hook in the size recommended on your yarn label, a pair of scissors, and a yarn needle for weaving in ends.
Consider the fiber content of your yarn for the best comfort. Acrylic blends are affordable and easy to care for, while cotton offers breathability. For a truly cozy piece, a soft wool or alpaca blend is wonderful. Gather your supplies on a Friday evening to set the stage for a productive and creative Saturday.
This small act of preparation is a key part of enjoyable lifestyle planning.
Your Step-by-Step Weekend Crochet Plan
Break your project into manageable sessions over the course of a weekend. On Saturday morning, focus on mastering your foundation chain and the primary stitch, such as double crochet. Work until you have completed one large rectangle, which will form the back of your shrug. This initial phase is all about building rhythm and consistency in your tension.
Saturday afternoon or evening, begin the second identical rectangle. The repetitive nature here is perfect for chatting with family or listening to a podcast. By Sunday, you’ll be ready to seam the two pieces together along specific edges to create armholes. This is where your crochet shrug truly starts to take shape.
Don’t worry about perfection; handmade character is part of the charm.
Adding Personal Flair and Finishing Touches
Once the basic construction is complete, you can personalize your creation. Adding a simple border of single crochet stitches around the entire edge gives a polished, finished look. You could also incorporate a basic shell stitch or picot edge for a bit of feminine detail. This is your chance to experiment and make the piece uniquely yours.
Consider fastenings if you want your shrug to stay secure. Adding a few buttons or a simple tie made from chain stitches can be both functional and decorative. For more stitch inspiration and technique guides, the Craft Yarn Council provides excellent beginner resources. Finally, remember to gently block your finished shrug by lightly steaming it to help the stitches settle and the shape even out.
Wrapping Up
Starting your first crochet shrug is a wonderful step into the world of handmade wearables. It transforms a quiet weekend at home into a productive and creatively fulfilling experience. This project proves that you don’t need advanced skills to create something beautiful and useful for your lifestyle. Grab your hook and yarn this weekend, follow these simple steps, and wrap yourself in the cozy satisfaction of your own handmade creation.
Explore a guide on our sister blog
Related reading: Explore more on this topic