A handmade crochet zipper pouch is the perfect weekend project for adding a touch of handmade charm to your daily carry. This practical guide will walk you through creating your own crochet zipper pouch, from selecting yarn to finishing the zipper. Whether you need a stylish case for your makeup, pens, or small gadgets, this project delivers both function and flair.
Why You Need a Crochet Zipper Pouch
A crochet zipper pouch is incredibly versatile and makes a thoughtful gift. You can customize the size, color, and stitch pattern to match any outfit or season. Plus, it’s a quick project that builds confidence in working with zippers.
Materials You’ll Need
Gather worsted-weight cotton yarn, a 4.5mm crochet hook, a zipper that matches your pouch width, a tapestry needle, and scissors. Cotton yarn holds its shape well and is easy to wash, making it ideal for a crochet zipper pouch. Choose a zipper with a pull tab that complements your yarn color.
Step-by-Step Instructions
Crochet the Pouch Body
Chain a length equal to your desired pouch width plus 2 inches. Work in single crochet rows until the piece is twice as tall as your intended pouch height. Fold the rectangle in half to form the pouch shape, with the right sides facing out.
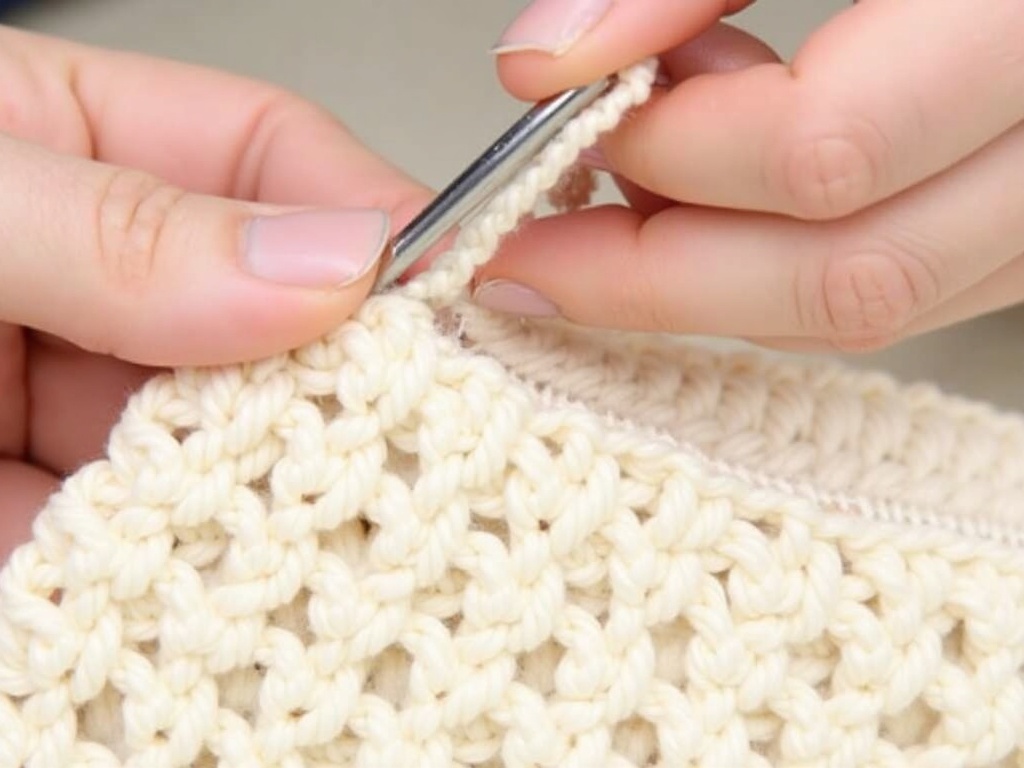
Attach the Zipper
Pin the zipper tape along the top edge of the folded pouch, centering it. Using a whip stitch and matching thread, sew the zipper to the crochet fabric. Take your time to ensure the stitches are even and secure.
Seam the Sides
With the zipper open, turn the pouch inside out. Single crochet or whip stitch the side seams closed. Turn the pouch right side out and admire your finished crochet zipper pouch.
Creative Variations
Experiment with different stitch patterns like the moss stitch or shell stitch for texture. Add a fabric lining to make your crochet zipper pouch more durable and professional. You can also attach a small key ring or a decorative tassel to the zipper pull.
Tips for Success
Always test your gauge before starting to ensure the pouch fits your zipper. Block the crochet piece before attaching the zipper for a neater finish. If you’re new to sewing zippers, practice on a scrap piece first.
Final Thoughts
Now that you’ve mastered the basics, try making a set of crochet zipper pouches in different sizes for organizing your bag or desk. For more weekend craft ideas, check out our guide on weekend DIY projects. You can also learn more about zipper types and techniques from this comprehensive sewing resource. Happy crocheting!
Explore a guide on our sister blog
Related reading: Explore more on this topic