Looking for the perfect summer weekend project? A crochet halter top pattern is an ideal way to blend creativity with practical style. This guide will walk you through a simple, stylish design perfect for beginners and seasoned crafters alike. You’ll be ready to wear your handmade creation to your next local market or casual gathering in no time.
Crafting your own wardrobe pieces aligns beautifully with a balanced, intentional lifestyle. It turns a leisurely afternoon into a productive and deeply satisfying endeavor. The rhythmic nature of crochet is a wonderful form of mindful relaxation. You can easily work on this project while enjoying your morning coffee or winding down in the evening.
Why Choose a Halter Top?
The halter neckline is a timeless summer silhouette that offers both comfort and flair. It pairs effortlessly with high-waisted skirts, shorts, or wide-leg pants for a complete weekend look. This style is wonderfully versatile for various body types and personal aesthetics. You can customize the fit and length to suit your exact preferences.
Selecting the right materials is the first crucial step for a successful project. A lightweight cotton or bamboo blend yarn is perfect for breathability and drape. You will also need a crochet hook sized appropriately for your yarn, a tapestry needle, and scissors. Choosing a color that complements your existing wardrobe ensures you’ll reach for this top again and again.
Gathering Your Materials and Gauge
Before you begin the main body of the work, crocheting a gauge swatch is highly recommended. This simple step ensures your finished top will have the correct dimensions and fit. A small difference in tension can significantly alter the size of the garment. Taking this time upfront prevents frustration and ensures a professional-looking result.
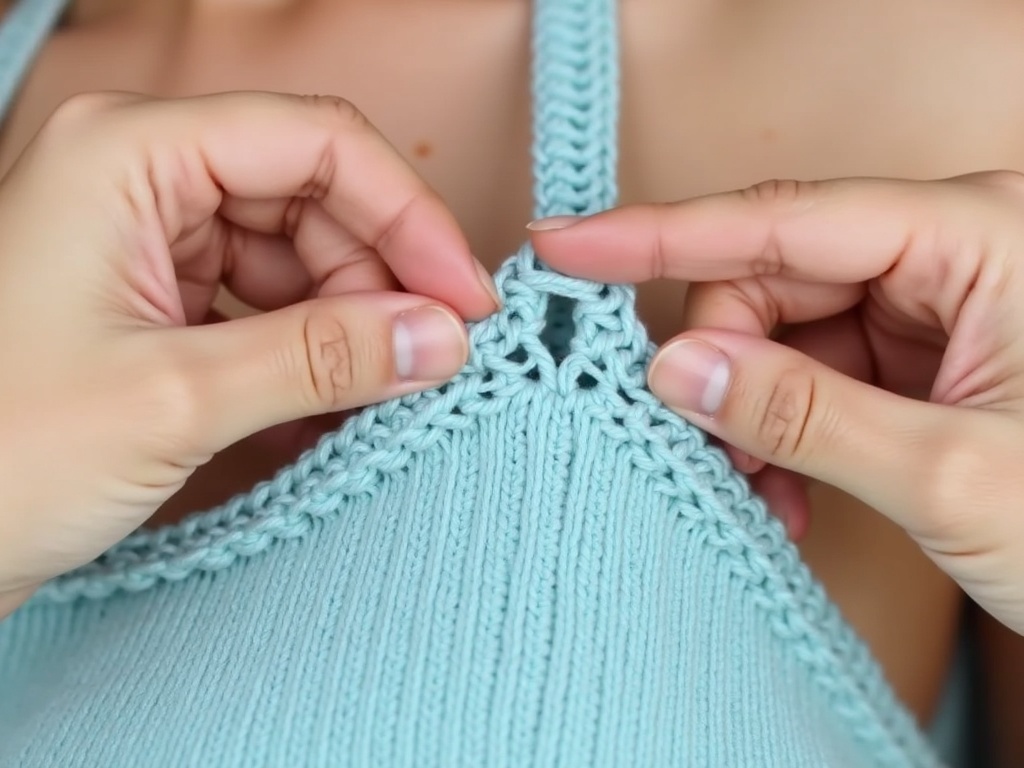
Our recommended crochet halter top pattern uses basic stitches for accessibility. The design primarily utilizes double crochet and chain stitches to create a light, airy fabric. The construction typically starts from the bottom band and works upward to the neckline. This logical progression makes the pattern easy to follow, even on your first attempt.
Following Your Crochet Halter Top Pattern
Once your gauge is set, you can confidently start the main construction. Follow your chosen crochet halter top pattern row by row, marking the beginning of each round. It’s helpful to try the piece on as you go to check the fit around the bust. This proactive approach allows for minor adjustments before you’ve completed too much work.
The back of a halter top is often a simple tied closure, which allows for an adjustable fit. This section usually involves creating two long straps that will be tied at the nape of your neck. Some patterns incorporate a button or clasp for added security. The finishing touches, like weaving in ends and blocking, give your top a polished, store-bought appearance.
Don’t be afraid to add your own personal flair to the basic design. You could add a simple shell stitch border along the edges for a boho touch. Incorporating stripes or color-blocking is another fantastic way to personalize your creation. For more stitch inspiration and techniques, refer to the comprehensive guides on the Craft Yarn Council website.
This project is a fantastic entry point into making wearable crochet art. Mastering this crochet halter top pattern builds confidence for more complex garments. It’s a rewarding way to spend a Saturday, resulting in a unique addition to your closet. Consider pairing this craft with our guide on creating a seasonal capsule wardrobe for a holistic approach to style.
Wrapping Up
Completing your own halter top is an achievement that combines skill, patience, and personal expression. This accessible crochet halter top pattern is your ticket to a handmade summer staple. Set aside a few hours this weekend to start your project. You’ll not only end up with a beautiful top but also the profound satisfaction of having made it yourself.
Explore a guide on our sister blog
Related reading: Explore more on this topic