Looking for a perfect weekend project to create a stylish summer staple? This beginner-friendly crochet halter top pattern is your answer. It combines a relaxed weekend vibe with a satisfying, hands-on craft that results in a beautiful, wearable piece. You’ll be ready to show off your handmade creation in no time.
Crafting your own clothing is a wonderful way to personalize your summer wardrobe. This particular crochet halter top pattern uses basic stitches and a simple construction. It’s designed to be approachable even if you’ve only mastered the chain and double crochet. The beauty lies in its customizable fit and the pride of wearing something you made yourself.
Why a Halter Top is a Great Summer Project
A halter top is an ideal warm-weather garment because it’s breezy and versatile. You can pair it with high-waisted shorts, skirts, or wide-leg pants for different looks. Working on this crochet halter top pattern is also a portable project, perfect for taking to the park or your backyard. It’s a fulfilling way to spend a few leisurely weekend afternoons.
Gathering Your Materials and Tools
You won’t need a huge supply list to get started. For this crochet halter top pattern, you will require a medium-weight cotton yarn, which is breathable and great for summer. You’ll also need a crochet hook in the size recommended on your yarn label, a tapestry needle for weaving in ends, and scissors. Choosing a yarn in your favorite color is the first step in making this project uniquely yours.
For consistent stitch definitions and terminology, it’s helpful to reference a standard guide like the Craft Yarn Council’s Crochet Abbreviations Master List. This ensures you can follow any pattern with confidence. Having your materials organized before you begin makes the process much smoother and more enjoyable.
Following the Crochet Halter Top Pattern
This section breaks down the key steps for creating your top. We will work from the bottom band up to the neck tie. The pattern primarily uses double crochet stitches to build the body quickly. Remember to check your gauge with a small swatch first; this ensures your finished top will have the correct dimensions.
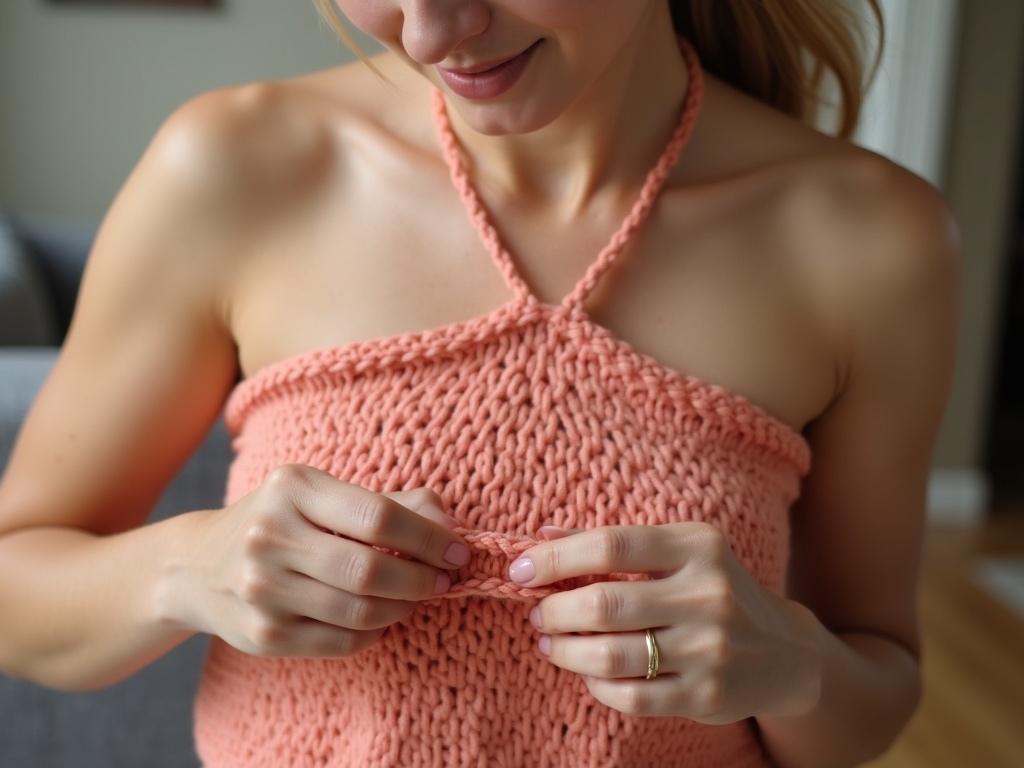
The construction is straightforward, making this crochet halter top pattern perfect for a weekend. You’ll create a rectangular panel for the front and a smaller one for the back. Then, you’ll seam the sides and add straps and ties. The adjustable halter neck tie allows you to customize the fit perfectly around your neck for all-day comfort.
Customizing Your Finished Top
Once you’ve mastered the basic crochet halter top pattern, you can start to add personal touches. Consider adding a simple shell stitch border along the bottom edge for a feminine detail. You could also experiment with color blocks by changing yarn colors at certain row intervals. Adding small tassels or pom-poms to the ends of the ties can inject a playful, boho feel.
These modifications make the project truly your own. They also help you develop your skills for future, more complex patterns. For more inspiration on customizing simple garments, explore our guide on personalizing your handmade wardrobe. The possibilities are endless once you understand the foundational construction.
Wrapping Up Your Weekend Project
Completing this crochet halter top pattern is a fantastic achievement for any crafter. It provides a tangible, usable result from just a few hours of focused work. Wear your new top with pride at your next weekend barbecue or casual outing with friends. It’s a testament to the joy and practicality of weekend crafting.
We encourage you to block your finished top lightly to even out the stitches. Then, take a moment to appreciate your handiwork before planning your next project. This successful make will surely inspire you to tackle more crochet patterns and continue building a handmade, sustainable wardrobe for all seasons.
Explore a guide on our sister blog
Related reading: Explore more on this topic